|
1.01 Enter Username
|
|
|
1.02 Enter Password
|
- Enter your password and click the Log In button.
|
|
2.01 Open Preferences Page
|
- Open the Preferences page by selecting the preferences button on the aware landing page.

|
| 2.02 Change Report Output Default |
- On the Preferences page, in section 1: Staff Preferences, use the drop down arrow to change the "Report Output Default" field to Prompt Me.
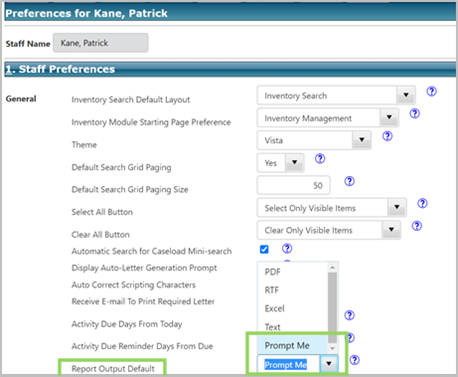 - Select Finish to save your changes.
|
|
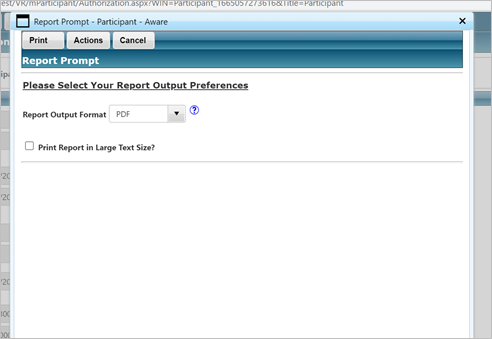
At this point your preferences are set and when you go to issue an authorization or look up a plan report you will see the Report Prompt Mini - Window.
|
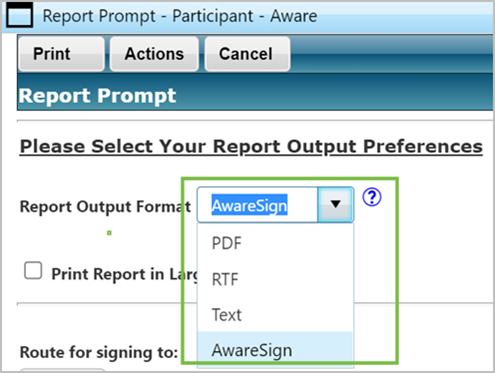
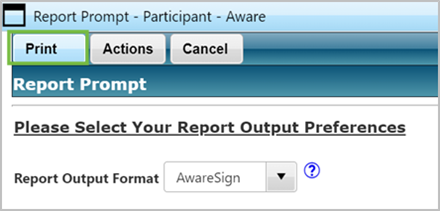
| 3.01 Change Report Output Format |
- Once your Report Prompt Mini-Window appears, use the Report Output Format drop-down arrow to select AwareSign.
|
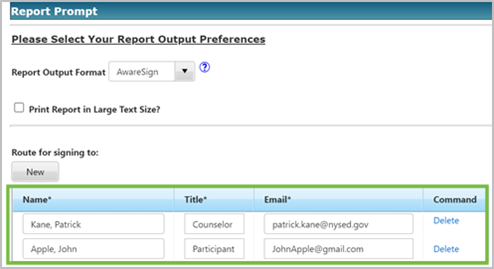
| 3.02 Verify Signee Names Appear |
- Once you select AwareSign, you should see the names of the participant or staff member you wish to send the document to. You can add someone else by selecting the New button.
|
| 3.03 Select Print |
- Select the Print button.
|
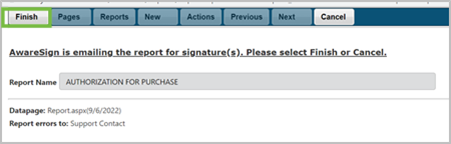
| 3.04 Select Finish |
- A page will appear notifying you that AwareSign is emailing the report for signatures. Select Finish.
|
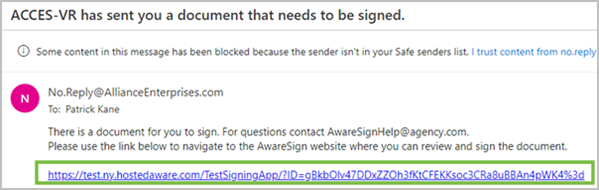
| 3.05 Check For Email |
- You should (or your participant) receive an email with a link to complete the signature process. Select the Link in the email message.
|
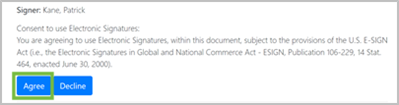
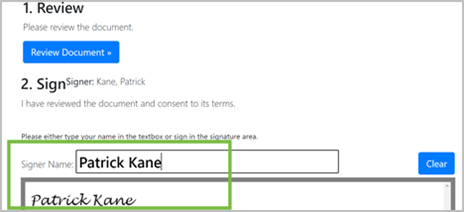
| 3.06 Agree to Terms |
- Select the Agree button after reading the consent terms.
|
| 3.07 Sign Document |
- Enter your name into the Signer Name field, your signature will appear in the box below.
|
| 3.08 Accept/Exit |
- Once you are satisfied with your signature, select Accept.
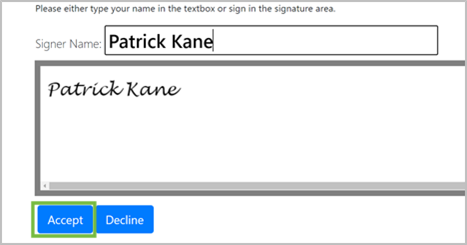 - Select Exit to finish.

|
| Now if you go back into Aware in that participants case, you will be able to see a record of the signed documents. |
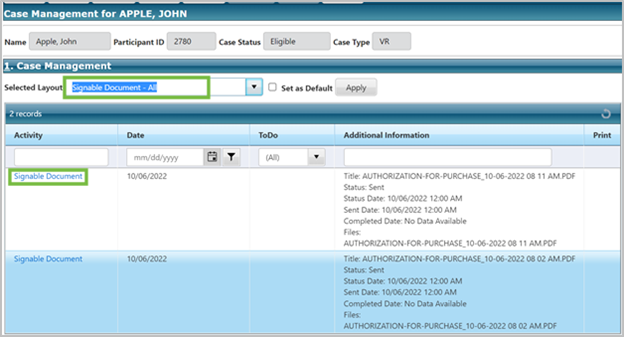
| 4.01 Change Layout to Signable Documents - All |
- On the participants page, change the Selected Layout drop-down arrow to select Signable Documents - All.
- A record grid with the signable documents will then become available.
|
| 4.02 Verify Signed/Complete |
- Once you select the Signable Document link, the Signable Document data page will appear.
- In Section 2: Additional Information - Signers, you will see the record for anyone who has signed the document.

|