If you encounter an error and need to send a screen capture as an attachment to your Help Desk ticket, you can use the Snipping Tool to do this easily.
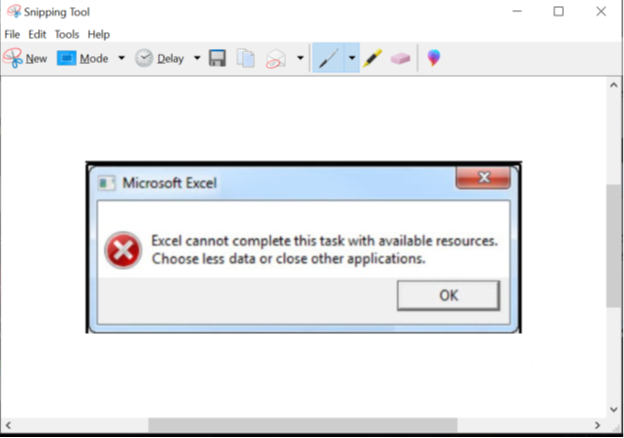
Step 1: Leave the Error Message visible - Do not click Ok or Dismiss
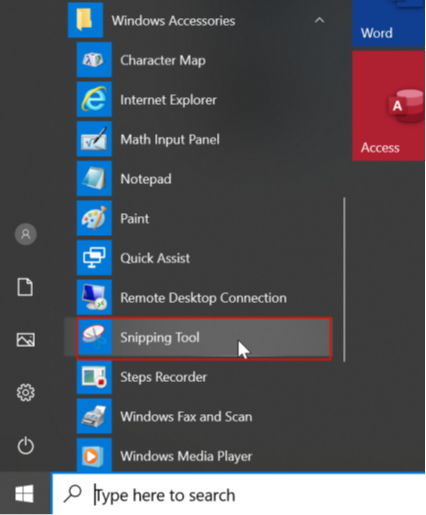
Step 2: Launch the Snipping Tool
Method 1

Select Start  , type snipping tool, and then select it in the search results.

Method 2
Go to Windows Start --> Windows Accessors --> Snipping Tool
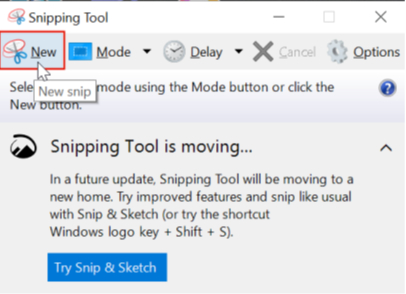
Step 3: From the Snipping Tool select New. Hint: The default Mode is a rectangle that you can draw. If you would like to capture the entire screen change the mode to Full-screen snip before selecting New.
Your screen will have a grey look to it and you will see a large plus sign or cross-hair as your cursor. It is with this cursor you will drag a rectangular box around your Error Message or whatever you wish to capture.
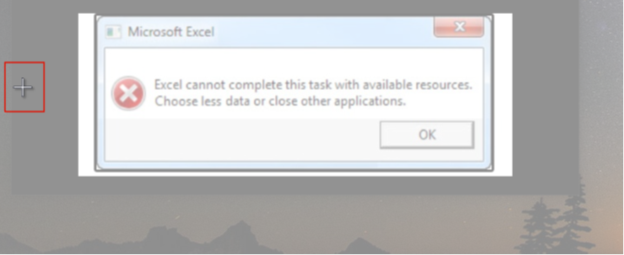
Step 4: Drag a box using the cursor shown above to select around your Error Message.
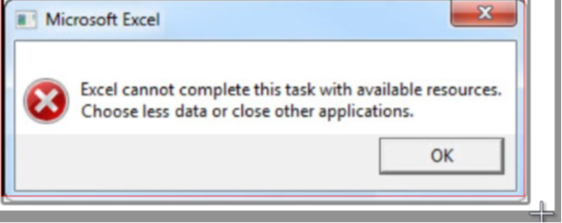
This will highlight and copy the area you selected into the Snipping Tool.
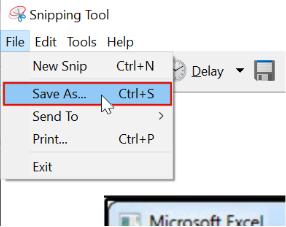
Step 5: In the Snipping Tool select File --> Save As... to save your screen capture as a JPG file. There are other file formats but, this is a very common image format that everyone should be able to use.
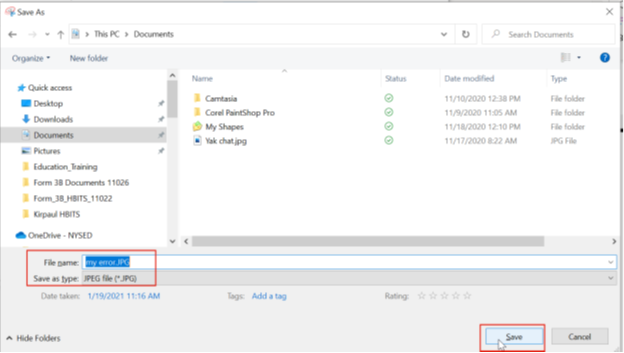
You can now attach this file to an email, or upload as an attachment using the Web Widget form on the VR Support Website.