|
Objective 1: Login
|
|
1.01 Enter Username
|
|
|
1.02 Enter Password
|
- Enter your password and click the Log In button.
|
|
Objective 2: Change Layout
|
|
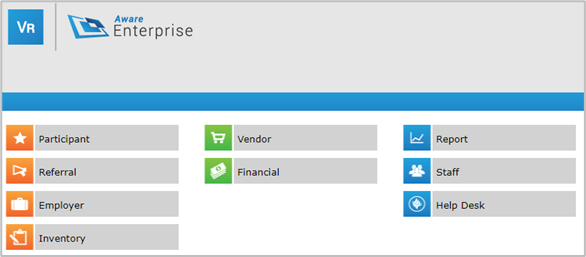
2.01 Display the Participant Module
|
- From the AWARE main screen, select the Participant module.

|
|
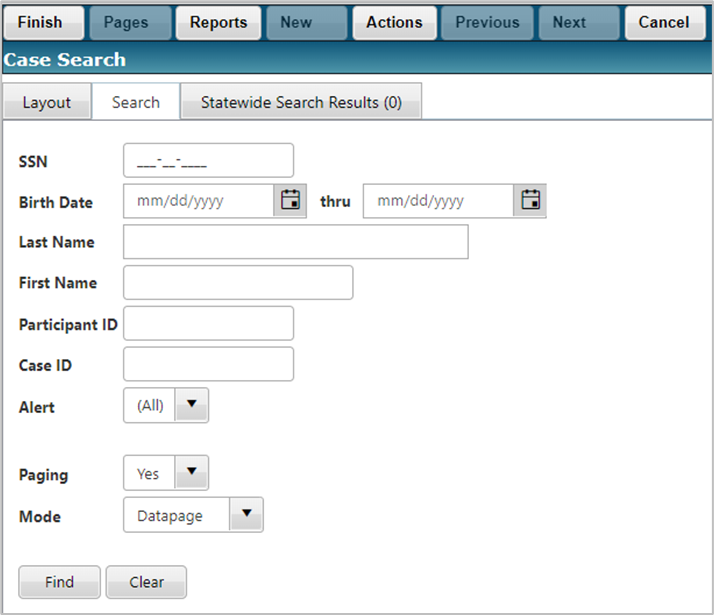
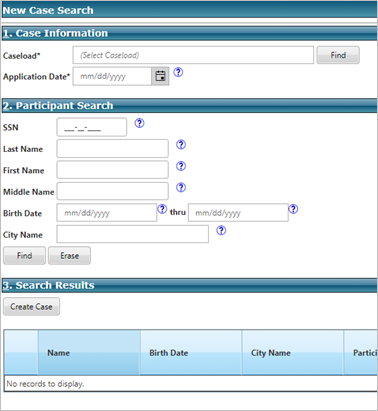
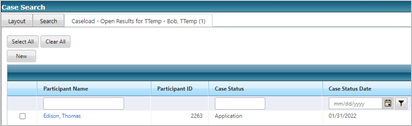
2.02 Verify Case Search Page Displays
|
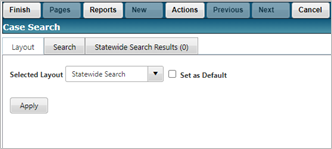
- The Case Search page will display, verify that your screen looks like this:
|
|
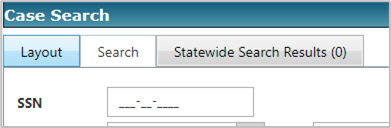
2.03 Select Layout Tab
|
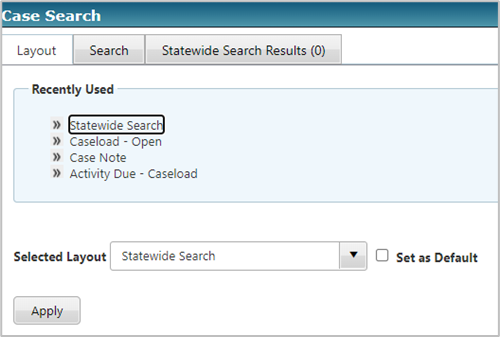
- Select the Layout tab on the Case Search page.
- You will most likely not have the same values in the >>Recently Used fields but this is what the screen should look like:
|
|
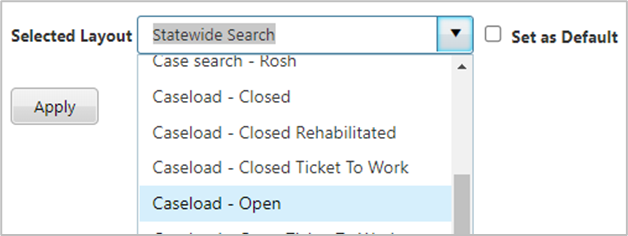
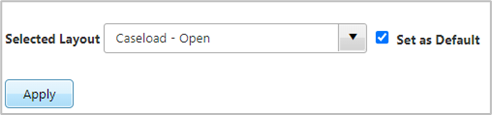
2.04 Change Layout
|
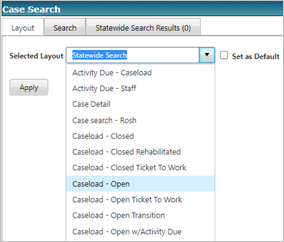
- Use the drop-down list for Selected Layout and select the layout option Caseload-Open.
- NOTE: If you do not see Caseload-Open or have any values in this drop-down list except for Statewide Search skip now to Objective 3 below!
|
|
2.05 Apply Default Layout
|
- Check the Set as Default box and click the Apply button.
|
|
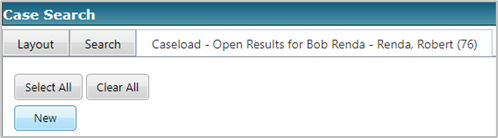
2.06 Verify New Button and Caseload
|
- You should see the New button for creating a new case. Note: If you have proper security to create a case.
|
|
Objective 3: Additional Steps Required
|
|
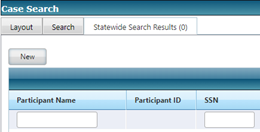
3.01 Select Statewide Search Results Tab
|
- Since this is a Test Environment and your caseload or a caseload that you have access to is not already populated in your Search criteria, we will have to add one.
- Select the Statewide Search Results tab (next to the Layout and Search tabs). This should display a records grid with a New button.
|
|
3.02 Select New Button To Display New Case Search Page
|
- Select the New button.
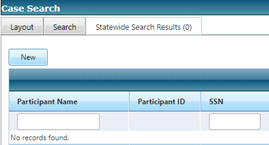
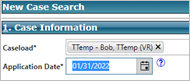
- The New Case Search page displays
|
|
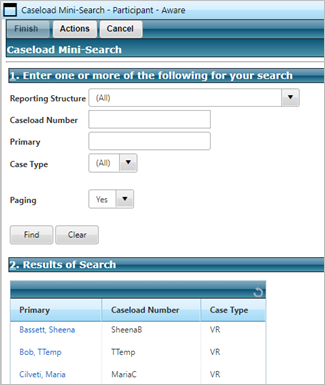
3.03 Launch Caseload Mini-Search
|
- In Section 1: Case Information on the New Case Search page, select the Find button for Caseload* to the right of where you should see (Select Caseload).

- The Caseload Mini-Search window appears:
|
|
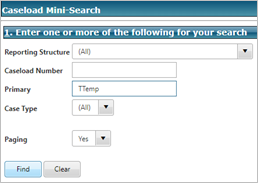
3.04 Enter Primary and Find
|
- In Section 1: Enter one or more of the following for your search on the Caseloads Mini-Search page type your last name or the last name of a Primary (staff member with a caseload) into the field for Primary and select Find.

- The Results of Search grid will populate with any matches:
|
|
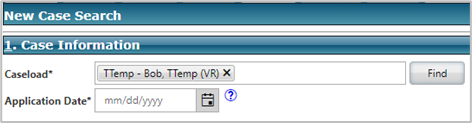
3.05 Select Staff Member’s Caseload
|
- Click the link to yourself or other staff member under the Primary column in the Results of Search grid.
|
|
3.06 Verify Caseload Field Populates
|
- Verify that the Caseload* field is now populated with your caseload selection.
|
|
Objective 4: Create Case
|
|
4.01 Application Date
|
- In Section 1: Case Information enter today’s date in the Application Date* field. Tip: click in the day field and press “T” on the keyboard.
|
|
4.02 Enter SSN
|
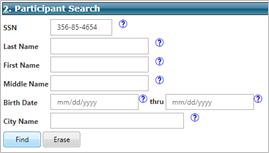
- In Section 2: Participant Search enter a value in the SSN field.

|
|
4.03 Select Find
|
- In Section 2: Participant Search select the Find button to search and see if this participant already exists in AWARE.
|
|
4.04 Dismiss Alert Box
|
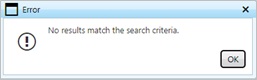
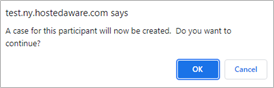
- If you find that someone has already used the SSN in the Test Environment, enter another SSN and select Find. You are looking for No Matches:
- Once you see the following alert box. Click OK to dismiss.
|
|
4.05 Create Case
|
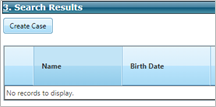
- In Section 3: Search Results, select the Create Case button.
|
|
4.06 Re-enter SSN
|
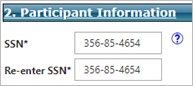
- Once you have selected Create Case, the New Case Verification page displays:

- In Section 2: Participant Information, Re-enter SSN*.
|
|
4.07 Enter Last Name
|
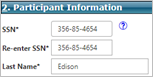
- In Section 2: Participant Information, enter Last Name*.
|
|
4.08 Enter First Name
|
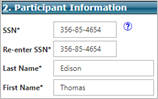
- In Section 2: Participant Information, enter First Name*.
|
|
4.09 Enter Birth Date
|
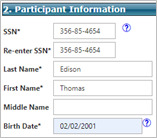
- In Section 2: Participant Information, enter Birth Date*.
|
|
4.10 Finish To Create Case
|
- On the main menu select Finish create case.

- Select OK on the alert box to confirm case creation.
|
|
4.11 Verify Case Management Page Displays
|
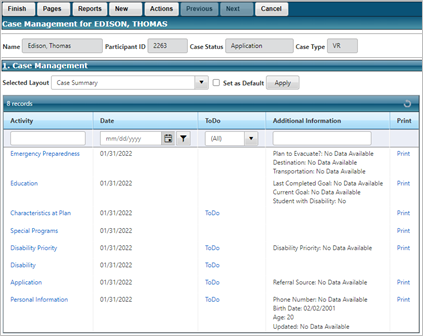
- Once you have selected OK to create case, the Case Management page will display for your Participant.
|
|
Objective 5: Now Change Layout
|
|
5.01 Display Case Search Page
|
- From the Case Management page, select Finish or Cancel on the main menu to return to the Case Search page. This is the very first page that displays when selecting the Participant Module.
|
|
5.02 Change Layout
|
- You should now see many more options in the drop-down list for Selected Layout. Use the drop-down list to select the Caseload-Open layout and check the box for Set as Default. Then select Apply.
|
|
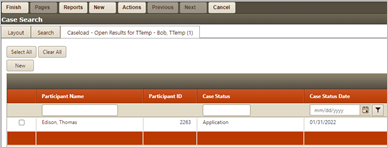
5.03 Verify Caseload-Open Layout
|
- Your Case Search page should now have a grid with the individual participant cases for your caseload (the one you created New).
|
|
Objective 6: Let’s Change Our System Preferences
|
|
6.01 Get Back AWARE Main Screen
|
- Use Finish or Cancel on the main menu of the Case Search page to close out of Case Search and return to the AWARE main screen.
|
|
6.02 Open Staff Preferences
|
- In the upper right corner of the AWARE main screen next your login/logout button select Preferences.
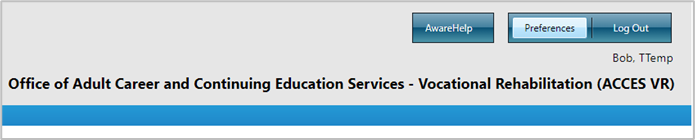
- This will display the Staff Preferences page for your account.
|
|
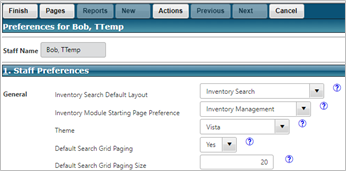
6.03 Verify Case Search Default Layout
|
- On the Staff Preferences page for your account, scroll down to the Participant group of settings. Verify that your Case Search Default Layout is set to Caseload - Open. It should be if you checked the box when changing to that layout above.
|
|
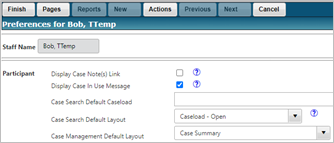
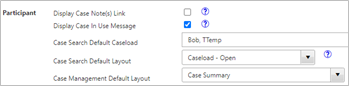
6.04 Set Case Search Default Caseload
|
- As a VRC, you can set the Case Search Default Caseload to your caseload. As an OA, VRCA or SVRC who may be accessing many caseloads daily, this can be set for up to 5 Caseloads to display when opening the Participant Module. Even by setting a caseload or caseloads to display by default, you can always add (up to 5 total) or remove caseloads on the Case Search page.
- There is no Find or Mini-Search from this page, so you have to know the primary’s name and enter it into that field. For example:
|
|
6.05 Finish To Save Preferences
|
- Use the Finish button on the main menu at the top of page to save any changes to your preferences. You do not have to logout and log back in to see these changes.
- For fun, change the Theme (in General group at the top of the Preferences page) to something like Sunset and see if you like how it looks when you access the Participant Module:
|